
Candle brand AI product photography is the use of image-generation tools to create candle product visuals with the aim of helping shoppers evaluate and buy the right candle. Your 2026 workflow needs to preserve the jar, wax, wick, and label while using scenes to communicate a scent that shoppers cannot smell online.
- AI product photography for candle brands starts with accurate reference photos, not elaborate prompts.
- Icarus fits candle teams that need product photos and videos in one place.
- Check glass, labels, wax, and flame behavior before publishing generated candle images.
- Compare combined creative tools with separate AI photo and video tools using the same candle brief.
Why AI product photography matters for candle brands
A candle photograph has two jobs: show what arrives and suggest where it belongs. A clear product view answers questions about the vessel and label. A lifestyle scene gives you room to express a scent through color, lighting, and surroundings.
Those jobs need different briefs. A scene that communicates a quiet evening does not replace a clear view of the actual jar. Keep product identification separate from mood-setting when you plan your images.
For your 2026 buying decision, compare workflows rather than attractive sample galleries. The useful question is whether you can produce images of your candle that pass your own checks. The broader ecommerce product photography services guide provides another route to consider alongside generation tools.
Build a repeatable candle photography workflow
1. Photograph your actual candle first
Start with a phone, daylight, and a plain background. Capture the candle you sell, not a similar jar or an early packaging sample. These photos become your factual reference whether you commission photography or use a generation tool.
Keep the camera position steady and avoid reflections that hide the vessel. Photograph the label directly enough to read it. Include the lid and packaging only when they belong to the item or bundle you intend to show.
Build a reference folder that makes review possible without relying on memory. A beautiful result is not useful if nobody can establish whether its label or lid is correct.
- Capture the front label straight on.
- Photograph the side profile and vessel opening.
- Record the lid separately and on the jar.
- Include a close view of the wax and wick.
- Save packaging references for images that show packaging.
2. Write a brief around the buying question
Write your brief in a document before opening a tool. Name the placement, the question the image should answer, and the details that must stay unchanged. This prevents a campaign mood from taking priority over the product.
Illustrative brief: a candle brand needs 6 images for a product page and launch email. The set contains 2 clear product views, 2 tabletop scenes, 1 label detail, and 1 image with space for email copy. These are planning choices, not a platform output promise.
For a 2026 launch, put the publication date and approval owner in the brief. Keep them outside the image prompt unless they affect the scene. This gives your team a usable production document rather than a long string of visual adjectives.
- State the placement: product page, email, or ad.
- Name the candle and reference files.
- List fixed details, including label and vessel shape.
- Specify the scene, lighting, and intended crop.
- Define the image count and approval owner.
3. Choose between one creative suite and separate tools
Use the brief as your buying test. Your manual starting point is the reference set, a shot list, and a shared approval folder. Then decide which parts of production you want a tool to handle.
Icarus provides product photos and videos in one place for e-commerce brands and in-house marketing teams. That makes it relevant when your candle campaign needs both still images and video content rather than photographs alone.
The confirmed distinction is the combined workflow, not a claim of better glass rendering, exact label preservation, or faster approvals. Test those requirements against your candle. Separate photo and video tools remain an option when you prefer a different tool for each task, but you must assess both workflows and their handoff.
- Run the same reference candle through each candidate workflow.
- Request the same scene and crop.
- Check how each workflow handles corrections.
- Review still images and video separately.
- Record rejected outputs as well as approved ones.
4. Build scenes that support the scent story
Start by arranging a simple physical scene or sketching the composition. Decide what belongs near the candle before writing a prompt. This helps you distinguish useful context from decoration that competes with the product.
Translate the scent into an explicit visual direction. For an illustrative woodland candle, that might mean muted green surroundings and a wood surface. Treat those elements as mood cues, not proof that the candle contains particular ingredients.
A practical prompt structure is: product reference, surface, background, light, camera view, and exclusions. For example: use the supplied candle reference on a pale stone surface, with a plain background, side lighting, and space beside the jar for copy. This is a brief to test, not a guarantee of an exact output.
- Choose a surface that leaves the vessel easy to see.
- Specify one lighting direction.
- Keep props away from the label.
- Exclude unrelated packaging or additional candles.
- Separate scent imagery from ingredient claims.
5. Inspect the candle before judging the mood
Open the reference and generated image side by side. Review product details before deciding whether the scene looks appealing. A compelling background cannot compensate for a wrong fragrance name or a vessel that changes shape.
For glass candles, look at the rim, base, transparency, reflections, and wax boundary. For opaque vessels, inspect the silhouette, finish, and lid fit. Check every visible letter rather than accepting text that merely resembles your label.
Use a short review sequence: Reference check, Label check, Scene check, Approval. Put failures in a correction note with the affected area named. A specific note such as “the lid is wider than the reference” gives the next attempt a clearer target than “make it more realistic.”
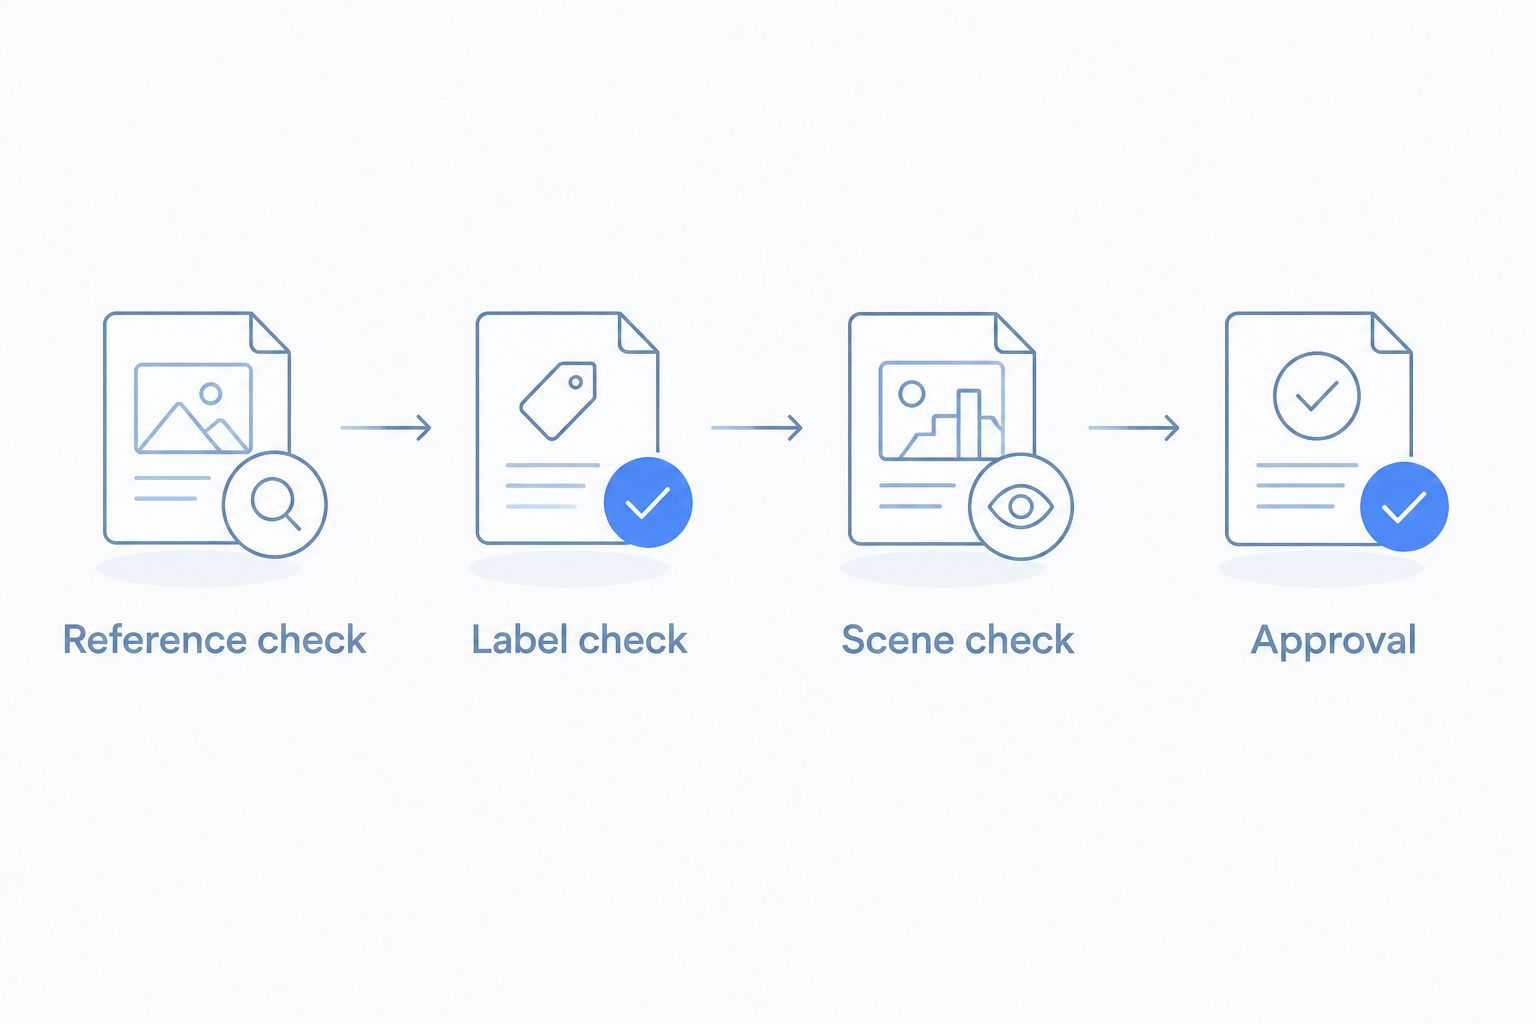
Keep the review checklist attached to the brief. Your 2026 campaign archive should show which image was approved, not just which version someone downloaded.
- Match the vessel outline and proportions.
- Read the fragrance name and all visible label text.
- Compare the wick count and wax appearance.
- Check that reflections do not resemble extra objects.
- Reject flames that appear detached from the wick.
- Confirm that props do not hide the product.
6. Adapt approved images for each placement
Begin by placing the approved image in your actual page or ad layout. A scene that works by itself can fail when the crop cuts off the lid or leaves no room for a headline. Judge the asset where it will appear.
Keep the full candle visible when the purpose is product identification. Use a separate detail image when you want the viewer to inspect the label or vessel finish. Do not expect one composition to perform every job.
For a planned 10-second video, write a simple sequence before generating anything: establish the scene, show the product, and close on the intended action. That duration is an illustrative creative brief, not a tool specification. Review the candle throughout the finished sequence rather than approving only its opening frame.
- Preview the crop in the intended placement.
- Keep essential label details inside the visible area.
- Reserve clear space for added copy.
- Check the vessel across video frames.
- Export clearly named, placement-specific files.
7. Measure usable output and buying outcomes
Start with a spreadsheet. Record the brief, selected workflow, revision notes, approved assets, and where each asset ran. This gives a small team a production record without requiring a separate reporting system.
For your 2026 evaluation, distinguish production usefulness from campaign results. Approval tells you whether an image is publishable. Purchases tell you whether the campaign achieved its business goal; they do not, by themselves, prove the image caused the result.
Compare creative while keeping the offer, audience, and destination consistent wherever your testing setup allows. Record changes that prevent a fair comparison. Choose the workflow that produces usable assets for your business, not the largest pile of generated files.
- Track approved and rejected assets separately.
- Categorize failures such as labels, glass, or composition.
- Record time spent reviewing and correcting.
- Connect published assets to the relevant campaign.
- Review purchases alongside clicks and engagement.
Compare your candle photography options
Choose by production need. A combined suite suits a team making stills and video together; separate tools suit a team that wants to choose each workflow independently. A camera-based workflow gives you actual photographs but still requires scene setup and editing.
Use the same candle brief for the comparison. Treat a tool's sample gallery as an introduction, not evidence that it will reproduce your packaging correctly.
| Option | Best for | Main advantage | Key limitation |
|---|---|---|---|
| Icarus | Teams needing product photos and videos together | Both content types in one place | Candle-specific accuracy still needs evaluation |
| Separate AI photo and video tools | Teams choosing each workflow independently | You can assess each task separately | Requires separate evaluations and a handoff between tools |
| In-house camera photography | Teams able to arrange and photograph physical scenes | Captures the actual candle in the arranged scene | Requires physical setup, lighting, and editing work |
| Commissioned photography | Brands wanting someone else to execute a shoot brief | Moves shoot execution to a photographer | Requires briefing, coordination, and review |
Do not assume the options are mutually exclusive. Keep real product photographs as references and use generated scenes only where the results meet your publishing standard. A limitation is a reason to assign a workflow the right job, not to ignore the limitation.
Common mistakes candle brands make
Letting scent props imply an ingredient claim
A citrus slice beside a candle can read as an ingredient cue rather than decoration. Check the scene against your actual product description. Remove props that create a claim you cannot support.
Approving the atmosphere before reading the label
Warm light can distract from a misspelled fragrance name or altered warning text. Read visible packaging at a useful inspection size. Reject incorrect text even when the overall image looks convincing.
Showing an accessory as part of every purchase
A lid, gift box, tray, or wick trimmer changes what the scene appears to include. Show the actual offer clearly. Keep styling accessories distinct from the product being sold.
Using a lit candle without checking the setting
Review the flame, wick, vessel, and surrounding objects together. Reject scenes that depict a flame touching nearby materials or an obviously unstable candle placement. Do not publish an appealing scene that presents unsafe use.
Comparing tools with different briefs
A plain-background image and an elaborate room scene are different tasks. Use matching references, composition requirements, and approval criteria. Otherwise, you are comparing creative direction rather than workflows.
FAQ
What's the best way to start AI product photography for candle brands?
Start with clear photographs of the actual candle and a written brief. Use those references to check the vessel, wax, wick, label, and packaging in every generated result.
Is Icarus a fit for a small candle marketing team?
Icarus fits candle teams that need product photos and videos in one place. Evaluate its outputs with your actual candle before choosing it for your production workflow.
Can generated images replace all my real candle photographs?
Keep real photographs as the factual reference for your candle. Use generated images only when the product details and intended scene pass your review.
How do I stop the label from changing in generated candle photos?
Use a clear label reference and inspect every visible word before approval. Reference material does not remove the need to check the finished image.
Should I show candles lit or unlit?
Choose the candle state that answers the image's buying question. An unlit view can show the wax and wick, while a lit scene needs additional checks for the flame and surrounding setting.
Are separate AI photo and video tools better than one suite?
Separate tools suit teams that want to choose each workflow independently. A combined suite suits teams that want both content types in one place; compare the actual outputs and review process.
How should I measure whether candle images are working?
Track approved assets separately from published campaign results. Review purchases as the business outcome, and record changes to the audience, offer, or destination when comparing creative.
One last thing
A scent cue does not have to sit beside the candle. Background color, surface, and lighting can carry your chosen mood without adding an object that looks included in the order.
Before committing to Icarus or separate tools, approve one complete candle set against one written brief. If the product changes between images, fix that before expanding the campaign. More scenes do not solve an inaccurate reference workflow.