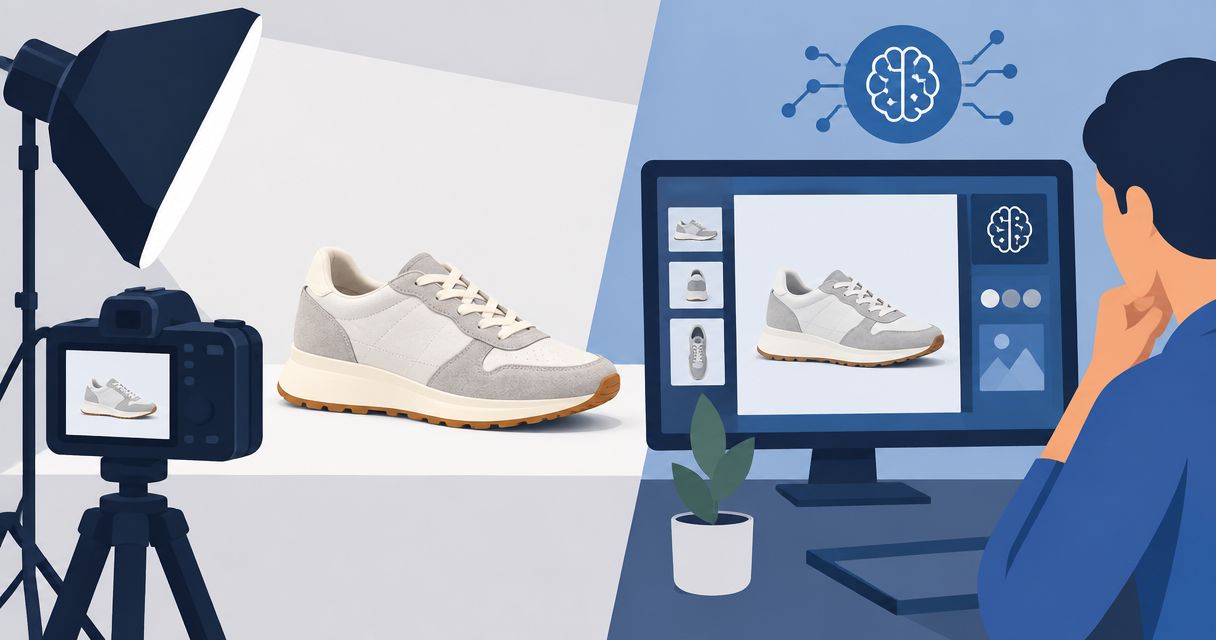
Yes, AI can generate realistic product photos, but a convincing image is not proof that it accurately represents your product. In 2026, judge the result against a real reference: packaging, shape, color, materials, and scale must remain correct. A believable background does not excuse an altered label or an invented product feature.
- Can AI generate realistic product photos? Yes, but realism and product accuracy require separate checks.
- Use real product references to review labels, proportions, materials, lighting, and scale before publishing.
- Icarus suits e-commerce teams that want AI product photography and video generation in one place.
- Compare tools using the same product brief, not unrelated gallery examples.
Can AI generate product photos that look real?
Yes. Approve the product first and the scene second. An image succeeds only when it looks plausible and shows what you actually sell. Treat visual appeal and product accuracy as separate approval decisions.
Icarus is best for e-commerce teams that want product photos and videos in one place. That combined scope is a reason to consider it, not evidence that any particular output will pass your product checks.
Use this comparison to choose a production approach. These are workflow trade-offs, not results from a tool test.
| Approach | Best for | Practical advantage | Limitation to check |
|---|---|---|---|
| AI-generated product scene | Exploring settings and creative concepts | Lets you request a scene without staging that scene physically | Every visible product detail still needs verification |
| Real product photo with an edited background | Keeping an approved product image central | Gives you an existing product reference to retain | Edges, reflections, and shadows must fit the replacement scene |
| Traditional product photography | Recording the physical item and its details | Captures an actual product in front of a camera | Requires a physical setup and still needs review and editing |
None of these approaches removes the need for approval. A real photograph can misrepresent color through lighting or editing; a generated image can look photographic while showing the wrong object.
Why this matters
Your customer uses product images to understand what arrives. The image should communicate the product, not merely produce an attractive impression.
For a 2026 creative workflow, separate an exploratory concept from an approved selling image. You can use an exploratory image to discuss a setting or composition. Do not treat that discussion asset as a factual product representation until someone checks it against the item.
Set the intended use before generating anything. A close-up intended to explain a closure needs different scrutiny from a wide lifestyle composition. Both must be accurate, but they ask the viewer to inspect different details.
What makes an AI product photo look realistic?
A useful review has two parts: whether the scene behaves like a photograph and whether the product matches reality. Inspect both before discussing whether you like the image.
Product accuracy
Compare the silhouette, proportions, openings, closures, seams, and accessories with your reference. Read every visible word on the packaging. Check punctuation and symbols rather than accepting something that merely resembles the label.
Color needs a reference too. Avoid approving a shade from memory, especially when the color distinguishes one product variant from another. Review the generated image beside an approved product image under the same viewing conditions.
Lighting and contact
Look at where the light appears to come from. Highlights and shadows should describe the same environment, and the product should visibly meet the surface beneath it.
Inspect contact points closely. A bottle resting on a table needs a plausible base and contact shadow. A hand holding a package needs a grip that agrees with the package's shape rather than passing through it.
Material and scale
Ask whether each surface reads as the material you sell. Glass should not look like opaque plastic, and brushed metal should not become a mirror unless the actual finish supports that appearance.
Check size relationships against known objects. A lifestyle scene can look attractive while making a small item appear much larger. If size is part of the message, use a verified reference rather than relying on visual plausibility.
Why realism varies between generated images
For your 2026 review process, record these factors in the brief. They give you specific things to change or inspect instead of an unhelpful instruction to make the image more realistic.
- Reference clarity: Use an image that clearly shows the details you expect to preserve. An obscured closure is not a reliable basis for checking that closure.
- Product detail: Identify small lettering, repeated patterns, seams, and transparent parts before generating. Put those details on the approval checklist.
- Scene complexity: Hands, props, mirrors, and multiple products introduce more relationships to inspect. Add them because they serve the image, not as decoration by default.
- Lighting direction: Specify a coherent lighting idea. Review whether the product, surface, and surroundings follow it.
- Material description: Name the actual finish, such as matte plastic or brushed metal. Do not substitute a flattering finish that changes the item.
- Intended placement: Check the image at the crop and display size you plan to use. A composition that works wide can fail when a narrow crop removes context.
These factors are review criteria, not a guarantee of output quality. Keep the approval decision tied to the resulting image.
How do you create a realistic product photo with AI?
Use a repeatable brief and a fixed approval sequence. The following is an illustrative workflow for a small e-commerce team, not a claim about results from a particular tool.
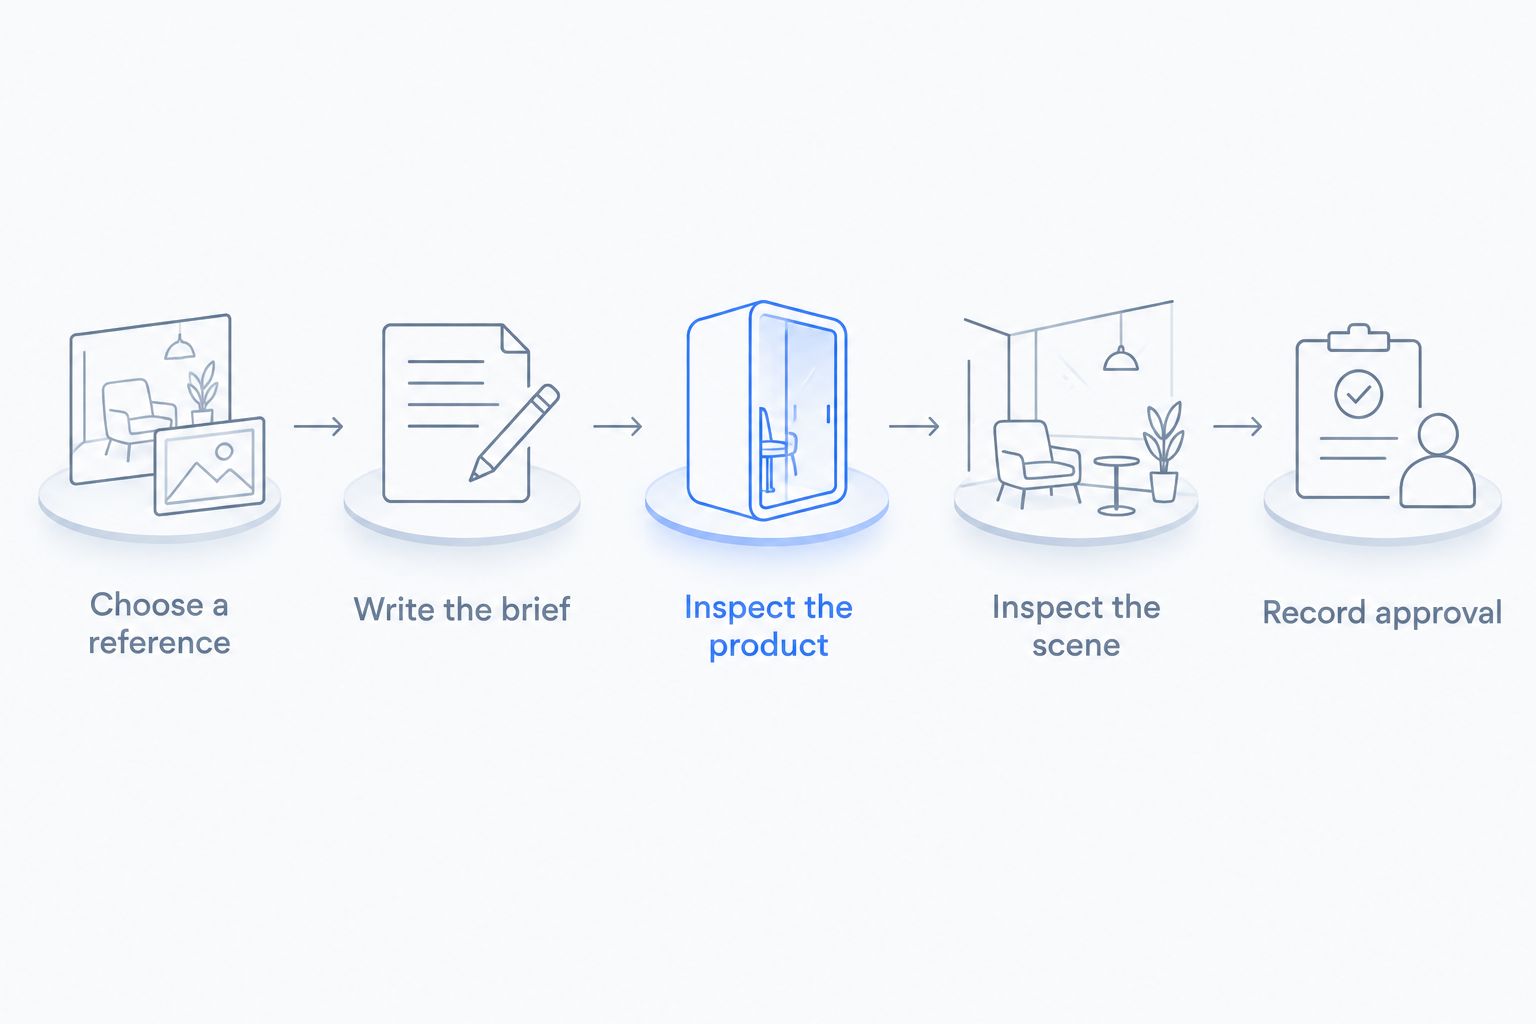
1. Choose a reference
Start with 1 approved reference image showing the product clearly. Add supporting views when a detail is hidden; do not ask a generated scene to establish what the real product looks like.
Keep the reference beside the output during review. The goal is comparison, not a memory test.
2. Write the brief
State the product, setting, lighting, composition, and intended use. Add a separate line for details that must not change.
Illustrative brief: a reusable bottle standing upright on a plain kitchen counter, soft side light, enough clear space for a headline. Preserve the bottle's shape, cap, color, and label. Do not add accessories or markings.
This example describes a request, not a promise that every generator will follow it. Check which reference and editing controls a tool documents before choosing it.
3. Inspect the product
Review at 100% zoom before judging the overall composition. Compare lettering, edges, closures, and material transitions against your reference.
Reject an attractive image if the product is wrong. Do not let a strong background make an inaccurate item seem acceptable.
4. Inspect the scene
Now check shadows, reflections, contact points, and scale. Inspect any hands or props that touch the product.
Review the intended crop as well as the full image. Make sure the crop does not hide an important qualifier or imply a product size you cannot support.
5. Record approval
Keep 2 review passes separate: product accuracy first, scene realism second. Record the reference, brief, intended placement, and approved output together so the next person understands what was checked.
For your 2026 asset library, distinguish concepts from publishable files. A filename or status label is enough to prevent a draft from being mistaken for an approved image.
Should you use one creative suite or separate tools?
Choose around the work you need to produce, then evaluate the outputs. A combined suite and a separate-tool workflow solve different organizational needs; neither arrangement proves image quality.
Icarus supports product photos, social and ad content, and videos without a traditional shoot. Its confirmed distinction here is product photos and videos in one place. Do not turn that distinction into an unverified claim about accuracy, speed, or savings.
| Workflow | Best for | Reason to consider it | Trade-off |
|---|---|---|---|
| Combined creative suite | Teams producing both product photos and videos | Keeps both content types within one product | You still need to evaluate photo and video outputs separately |
| Separate photo and video tools | Teams with distinct requirements for each format | Lets you choose each tool against its own brief | Requires a process for carrying approved product references between tools |
| Photo-only workflow | Teams currently buying a solution only for still images | Keeps the purchase focused on the immediate task | Leaves video production outside that workflow |
Use the same product and brief when evaluating alternatives. Compare the output you would actually publish, not a tool's most impressive unrelated example.
For still images, check product accuracy and scene realism. For video, add a review of the product throughout the sequence. A correct opening frame does not establish that later frames remain correct.
Explore photos and videos together
See Icarus's creative suite for product photos, social content, and videos.
Can realistic AI photos replace a product shoot?
Realistic AI photos can serve a creative brief, but they do not replace evidence about the physical item. Use generated imagery when the resulting asset passes your accuracy checks and suits its intended placement.
Keep physical photography in the plan when your task is to document a detail directly. If the point of an image is to show the actual weave, fit, finish, or mechanism, use a reference that establishes that feature rather than asking viewers to infer it from a generated scene.
Avoid an all-or-nothing decision. You can retain approved product photography and evaluate generated settings for additional creative work. The approval standard remains the same: show the item truthfully.
How can you tell whether a generated product photo is accurate?
A generated product photo is accurate only when its visible product details agree with verified references. Check the object before the styling: shape, label, color, materials, and included parts.
Make the review concrete. Ask whether the cap is the correct shape, whether the label text is exact, and whether the image adds something the buyer will not receive. Those questions produce clearer decisions than asking whether the image feels real.
If a critical detail is too small to verify, request a view that makes it checkable or use a different asset. Uncertainty is a reason to continue review, not to approve.
What should you test before choosing a tool in 2026?
Use a short evaluation brief built around a product you know well. Include an ordinary composition and a detail that matters commercially, such as a distinctive closure or visible label.
Keep these decisions separate:
- Output suitability: Does the image show the actual product accurately?
- Workflow fit: Can your team repeat the brief and review process without losing track of approved assets?
- Content scope: Do you need still images alone, or both photos and videos?
- Approval ownership: Who makes the final decision when an attractive output changes a product detail?
Do not purchase on scene realism alone. Your evaluation should end with a decision about usable product content, not a collection of attractive demonstrations.
FAQ
Can AI generate realistic product photos for an online store?
Yes, AI can generate realistic product photos, but you must verify that each image accurately represents the item. Check the label, shape, color, materials, and scale before publishing.
How do I stop AI from changing my product label?
Use a clear label reference, explicitly require unchanged text, and inspect every visible character. A prompt is not proof that the output preserved the label; reject or correct any mismatch.
What's the best way to check whether an AI product photo looks real?
Review product accuracy first and scene realism second. Compare against an approved reference, then inspect lighting, shadows, reflections, contact points, and scale.
Can I use AI product photos instead of hiring a photographer?
Use generated product photos when they pass your accuracy checks and meet the brief. Keep physical photography for work that needs direct documentation of the real item's details.
Is Icarus suitable if I need product photos and videos?
Icarus is suited to e-commerce teams that want product photos and videos in one place. Evaluate both output types against your own product references before adopting the workflow.
Should I choose separate AI photo and video tools?
Choose separate tools when each meets a requirement that matters to your brief. Choose a combined suite when having both content types in one product fits your workflow, while still checking each format separately.
Does a realistic AI image prove that the product is accurate?
No. A realistic image can still contain an incorrect label, altered proportions, or invented features. Visual plausibility and factual product accuracy require separate approval.
One last thing
Write the rejection rule before generating the image. Decide which details cannot change, who checks them, and what disqualifies an output.
That rule makes an attractive mistake easier to reject. If the packaging is wrong, a beautiful kitchen background does not rescue the image.