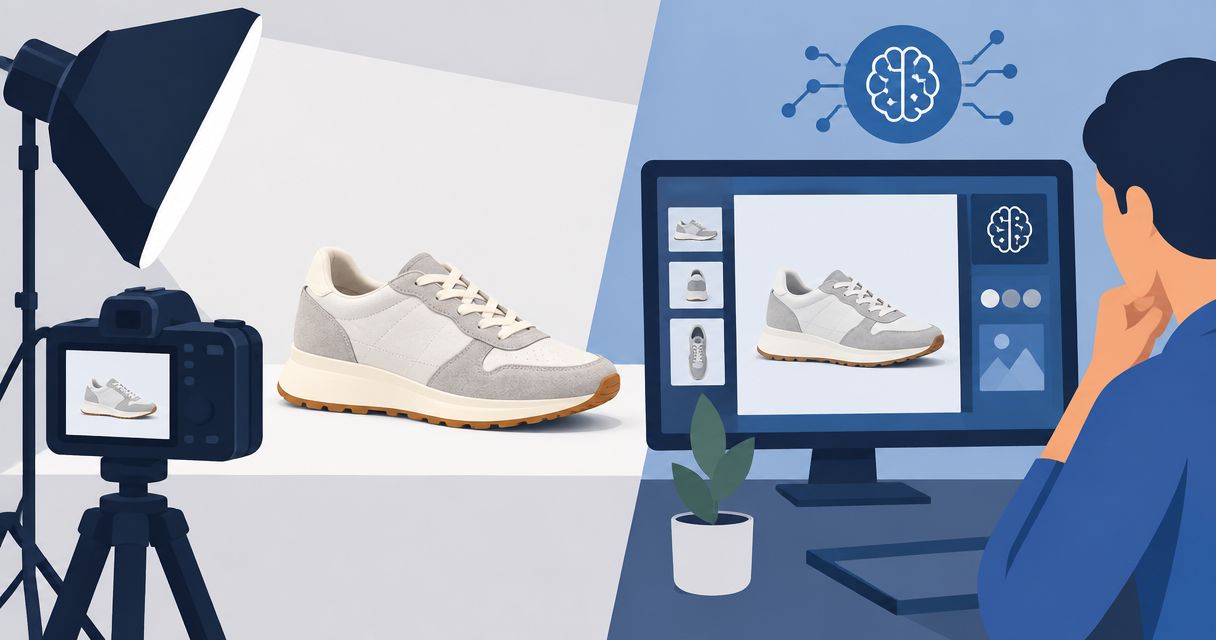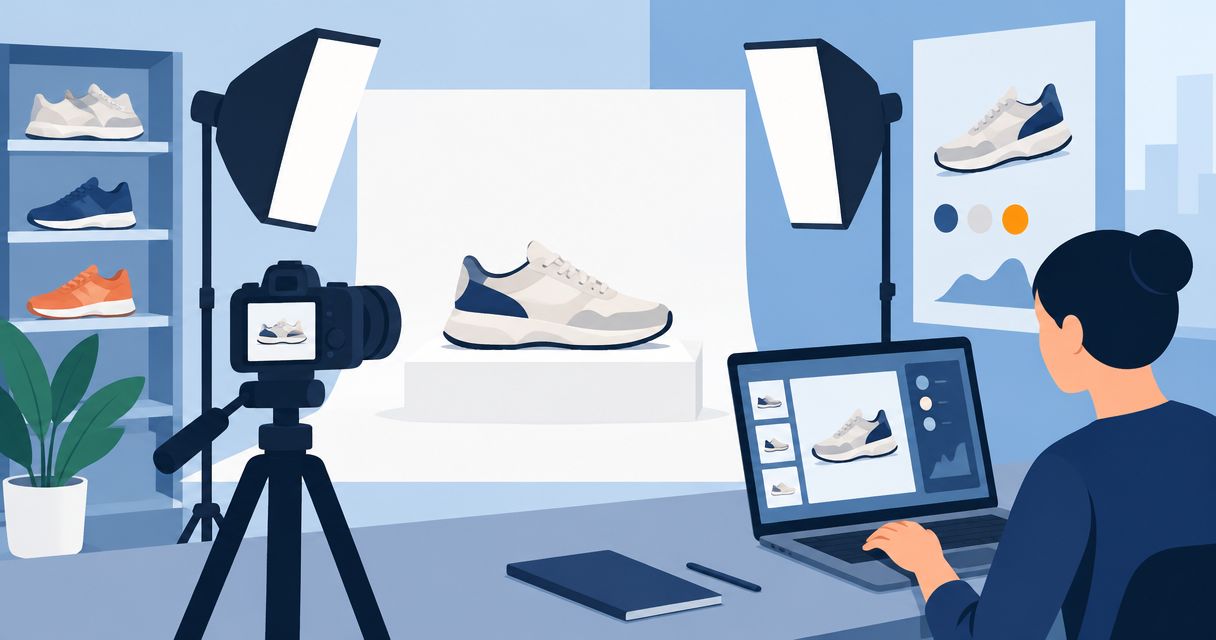
Footwear AI product photography is the creation of shoe images from product references and written instructions to help footwear brands show what they sell and build purchase-ready creative. This guide covers a practical 2026 workflow, where shoe construction needs close checking, and when to choose a combined photo-and-video tool rather than separate tools.
- AI product photography for footwear brands starts with accurate references, not elaborate prompts.
- Icarus suits e-commerce teams that need product photography and video generation in one place.
- Check outsole shape, stitching, labels, and left-right construction before approving footwear images.
- Compare combined and separate tools against the same brief, including product photos and video ads.
Why product photography matters for footwear brands
A footwear image has to show both the design and the object a customer will receive. An attractive setting does not compensate for a changed toe shape, missing eyelet, or invented tread pattern. Treat product accuracy as an approval requirement, not a visual preference.
For your 2026 workflow, separate product evidence from creative presentation. Real reference photos establish the shoe's construction. Generated scenes provide another way to present it, but every result still needs checking against those references.
Icarus is best for e-commerce teams that need product photography and video generation in one place. That combined scope is the reason to consider it; it does not replace a footwear-specific accuracy check.
Your buying decision is therefore narrower than finding a tool that produces appealing shoes. You need a workflow that produces usable images of your actual shoe, with an approval process your team can repeat.
Build a footwear photography workflow
Define the job before choosing a tool
Start manually with a shot list in a document or spreadsheet. Write down where each image will appear and what it must communicate. A product-page detail image and a social ad have different jobs, even when both feature the same sneaker.
Use an illustrative brief of 6 still images: a side profile, opposite side, front view, rear view, outsole view, and material detail. This is a planning example, not a required catalog standard. Add lifestyle compositions only after you know which product views you need.
Keep your 2026 shot list specific enough that another person can judge whether a result meets it. Replace instructions such as make it premium with visible requirements such as show the heel construction against a plain background.
- Assign each image a destination: product page, collection page, social post, or ad.
- Name the exact shoe, colorway, and sample used as the reference.
- Separate construction views from lifestyle scenes.
- Write the feature each image must make visible.
- Mark anything the image must not imply, such as an unverified performance benefit.
Assemble references that show the actual shoe
Use your existing product photographs first. If a construction detail is unclear, photograph that detail before writing more prompts. A phone camera and a plain surface give you a manual way to document visible features; the point is reference coverage, not campaign styling.
Do not ask a tool to infer the outsole from a side view. Supply the view you need to preserve. Keep different sizes and colorways clearly separated so an approved reference set does not mix details from different products.
For example, record 2 side views when the inner and outer panels differ. That count is an illustrative capture instruction. The required coverage depends on the shoe's actual construction.
- Capture the inner side and outer side separately.
- Record the toe, heel, tongue, and outsole where relevant.
- Include close views of labels, logos, stitching, and fasteners.
- Keep the same physical sample throughout a reference set.
- Name files by product, colorway, and view.
Compare tools with the same brief
Before subscribing, turn your reference set and shot list into a common evaluation brief. Evaluate results side by side rather than comparing unrelated showcase images. The task should reflect your own footwear, including the details that are difficult to reproduce.
Icarus provides product photos and videos in one place. Separate photo and video tools divide those jobs across applications. Neither arrangement proves that a particular shoe will render correctly; inspect the actual output before choosing your production workflow.
An illustrative evaluation task is 1 short video alongside the still-image brief. Include that task only if video is part of your real content plan. Do not add another format just because a tool offers it.
- Use the same shoe references for each evaluation.
- Request the same scene and product angle.
- Compare visible construction against the real sample.
- Check the output requirements for your intended destination.
- Record which results pass, need revision, or must be rejected.
Write prompts around visible requirements
Write the first prompt yourself in a plain document. Describe the product view, setting, light, composition, and details that must remain unchanged. Keep creative direction separate from product identity so you can tell what a revision is meant to change.
An illustrative prompt is: Show the reference shoe in an outer-side profile on a plain studio surface. Keep the toe shape, sole thickness, panel seams, laces, and label placement consistent with the supplied product references. Leave open space above the shoe for a separately added headline.
This prompt states requirements; it does not guarantee the tool will meet them. A precise prompt is an instruction, not proof of accuracy. For your 2026 prompt library, save approved examples with their references and review notes rather than saving text alone.
- Specify the required view before describing the scene.
- Name the construction details that must remain unchanged.
- Describe the background and lighting in separate phrases.
- Leave headline and legal text for a controlled editing step.
- Change a single creative variable when diagnosing a failed result.
Review construction before styling
Open the generated image beside the source photographs and inspect it manually. Compare the silhouette first, then work through smaller details. A convincing shadow cannot rescue a shoe that has the wrong sole or an extra lace opening.
For footwear worn by a person, check the shoe and foot together. Look for distorted openings, implausible contact with the ground, and mismatched pairs. Reject images that create uncertainty about what is being sold.
Use the same review order across your 2026 batches. This makes approval less dependent on who happens to be reviewing the image. Keep rejected outputs with a short reason when they help explain a recurring mistake.
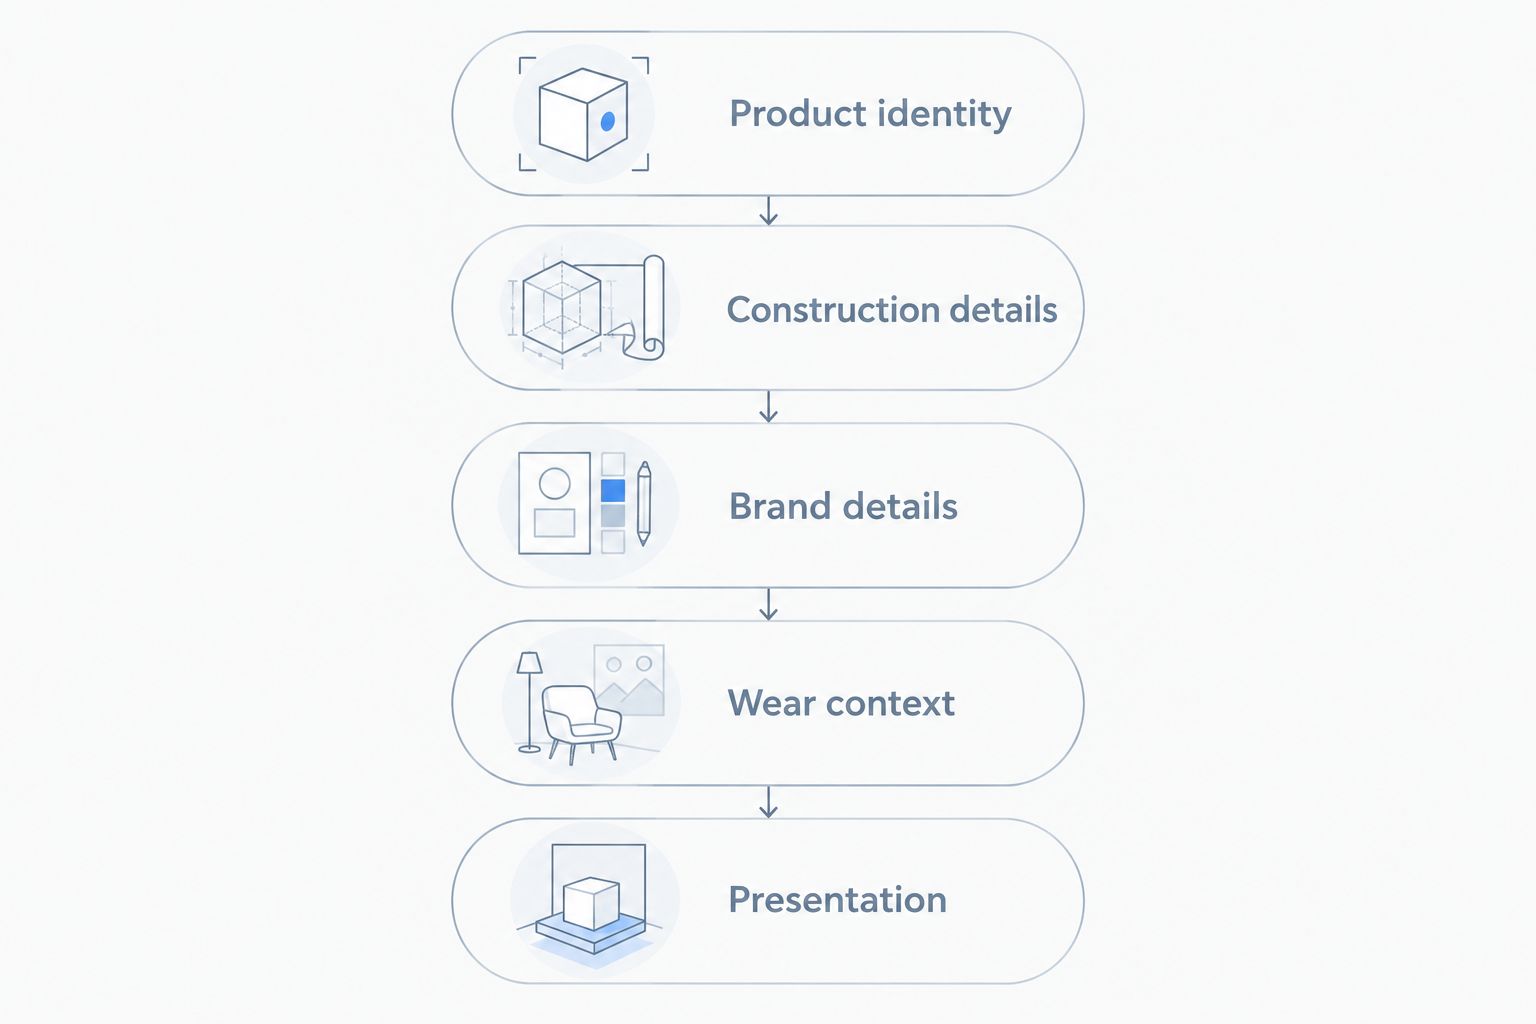
- Product identity: check shape, colorway, panel layout, and sole proportions.
- Construction details: check stitching, lace openings, fasteners, and tread.
- Brand details: check logo placement, label text, and repeated marks.
- Wear context: check left-right pairing, fit appearance, and ground contact.
- Presentation: check shadows, framing, and space for added copy.
Measure approved assets and paying-customer outcomes
Start with a simple tracking sheet. Record the brief, output, approval decision, revision reason, and publishing destination. A large folder of generated images is not the same as a usable asset library.
For published creative, connect each asset to the campaign or page where you use it. Review purchases and other relevant customer actions alongside creative performance. A visually striking ad is not a business win merely because people watch it.
Keep this separate from claims about causation. If you change the offer, audience, landing page, and image together, you cannot attribute the outcome to photography alone. Your 2026 review should distinguish production performance from customer response.
- Track which requested assets receive approval.
- Record revision reasons using consistent labels.
- Identify each published creative in your campaign records.
- Compare customer actions against the creative's intended job.
- Keep a record of other campaign changes during the comparison.
Compare your footwear content options
Choose the workflow around the work you actually publish. A combined tool fits a different requirement from a still-image-only workflow. A traditional shoot also remains a distinct option when you need direct photographic evidence of the physical product.
The table compares workflow scope, not tested image quality. No option removes the need for a clear brief and product review.
| Option | Best for | Main advantage | Key limitation |
|---|---|---|---|
| Icarus | E-commerce teams producing product photos and videos | Both formats are available in one creative suite | Combined scope does not establish footwear accuracy; inspect each output |
| Separate photo and video tools | Teams evaluating each format independently | You can choose a separate workflow for each task | References, revisions, and approvals span separate applications |
| Still-image generation only | Teams whose current brief needs product photos but no video | The evaluation stays focused on still-image requirements | It does not cover the video portion of a broader brief |
| Traditional product shoot | Teams requiring photographs of the physical sample | The camera records the shoe placed in the scene | Creating a new physical setup requires another production step |
Choose a combined workflow when both formats are real requirements, not hypothetical future needs. If your immediate job is documenting outsole construction, solve that job first. Do not let a broader feature list distract from the asset you need to approve.
Before committing, check current usage terms, export requirements, and any restrictions relevant to your planned commercial use. Treat these as purchasing checks rather than assuming that every tool provides the same rights or output controls.
Common mistakes footwear teams make
Approving an attractive shoe instead of the actual shoe
An image can look plausible while depicting the wrong product. A changed heel profile or simplified panel seam is still a product error. Compare against the reference sample before evaluating whether the scene fits your brand.
Correction: Make product identity a pass-or-fail gate. Do not approve an image with unresolved construction differences.
Mixing colorways in the reference set
Combining references from different versions makes the intended product unclear. Your own reviewer also needs to know which sample defines the final appearance.
Correction: Keep each colorway in its own reference set and name it in the brief. Use the same sample when documenting additional views.
Using lifestyle scenes to replace missing detail views
A distant on-foot composition does not document a tread pattern or fastening detail. It serves a different purpose. Keep lifestyle images as presentation assets rather than treating them as evidence for features they do not show.
Correction: Finish the required construction views before expanding the scene list.
Asking the image to prove an unsupported claim
A shoe pictured on a wet trail does not establish water resistance. A running scene does not prove cushioning, traction, or durability. Scene choices must not become substitutes for substantiated product information.
Correction: Review visual implications alongside written claims. Use only product claims your business can support.
Choosing a tool from showcase images alone
A showcase example does not answer whether your shoe, references, and output requirements fit the workflow. It also does not show how your team will handle revisions.
Correction: Make the buying decision with your own brief and review criteria. Select the workflow that delivers assets you can approve, not merely images you admire.
FAQ
What's the best AI product photography workflow for footwear brands?
The best workflow starts with accurate shoe references, a defined shot list, and a construction review before publication. Choose a tool only after evaluating it against your own footwear brief.
Is Icarus better than separate photo and video tools?
Icarus is the better fit when your requirement is product photos and videos in one place. Separate tools suit teams that want to evaluate each format independently; compare actual outputs before deciding.
Can generated footwear images replace real product photographs?
Do not treat generated footwear images as a substitute for verifying the physical product. Keep real reference photographs and check every generated image against the sample before using it to sell the shoe.
What shoe details should I check before publishing?
Check the silhouette, sole proportions, panel seams, stitching, laces, labels, and outsole pattern. For on-foot images, also inspect left-right pairing, foot shape, and contact with the ground.
How many reference photos does a footwear brand need?
Use enough reference photos to document every feature required in the final images. Inner and outer sides, the toe, heel, outsole, and close details need separate coverage when their construction matters to the brief.
Can I use generated shoe images in ads?
Check the tool's current commercial-use terms and the destination platform's rules before publishing generated shoe images in ads. Review the output for product accuracy and avoid scenes or copy that imply unsupported performance claims.
Should a small footwear team start with photos or video?
Start with the format needed for the next publishing job. Complete required product views first when those are missing, and evaluate video when it has a defined role in your campaign.
One last thing
Keep a rejection library, not just an inspiration folder. A saved example of a distorted sole or misplaced label gives your next reviewer a specific error to recognize. Remove product and customer information from any examples shared outside your team.
When evaluating Icarus or a separate-tool workflow, bring that rejection library with your brief. The useful buying question is not whether a tool can make a beautiful shoe image; it is whether your team can reliably approve images of the shoe you sell.