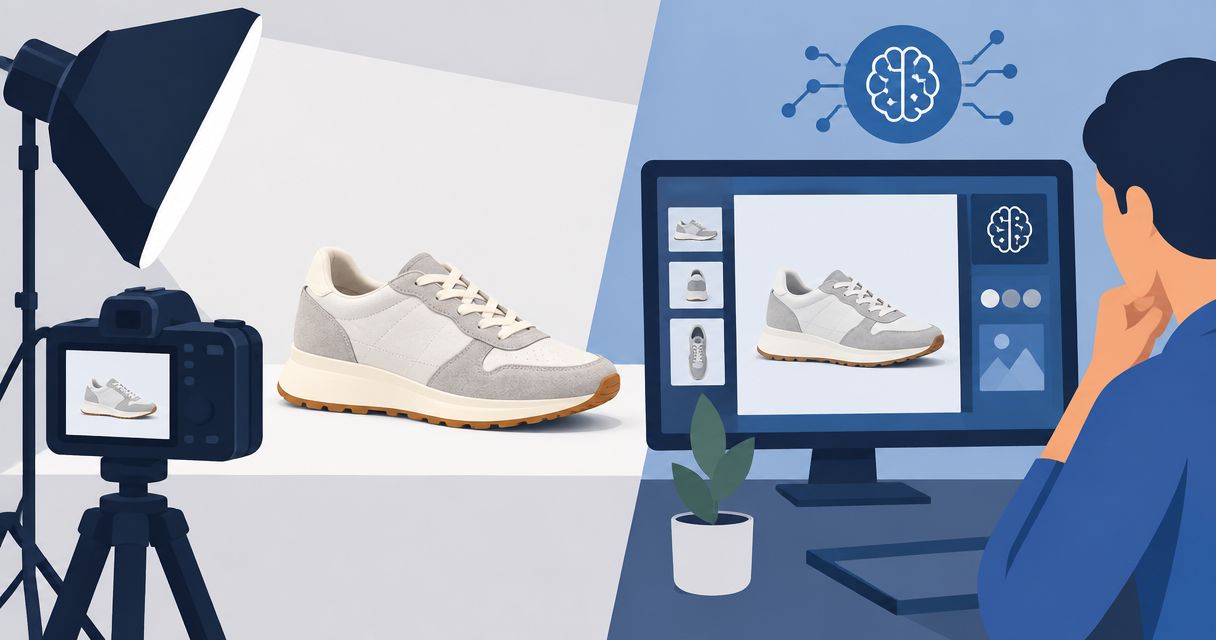
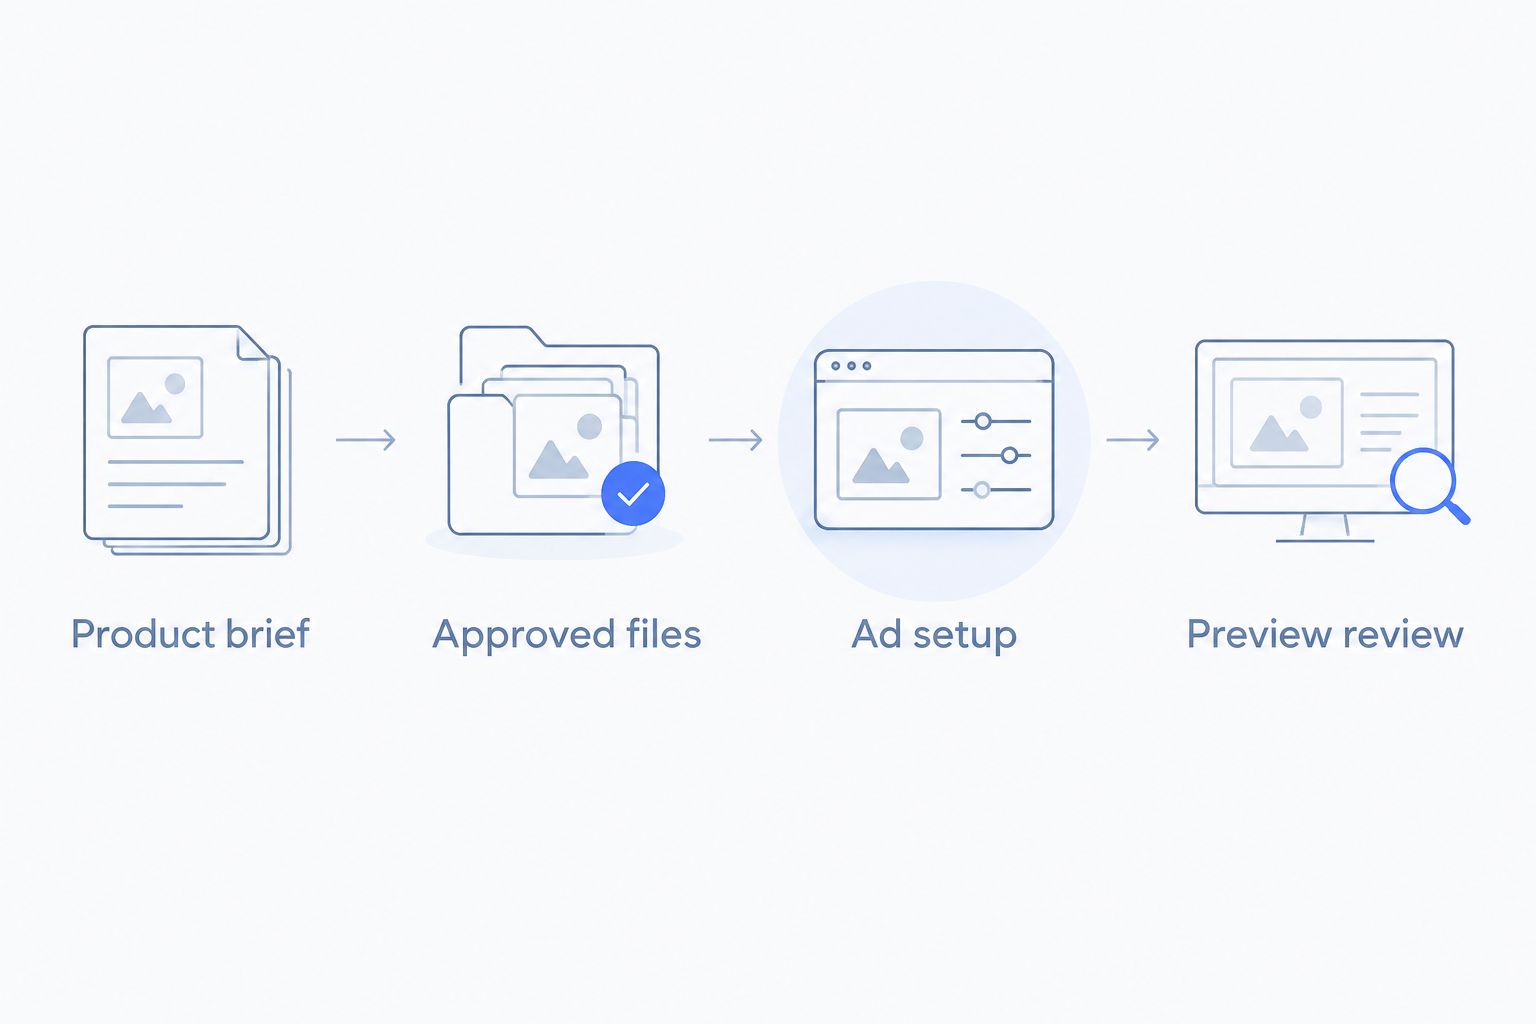
Instead of manually rebuilding product visuals inside each ad, create them in Icarus and upload the approved files to Google Ads. Use this file-based workflow for display creatives; it does not depend on a direct account connection or automatic publishing.
- For icarus google ads creatives, use a create, review, and upload workflow rather than assuming automatic synchronization.
- Icarus suits e-commerce teams that want product photos and videos in one place.
- Responsive display ads assemble separate assets; uploaded image ads use your finished layout.
- Review image crops, text combinations, and the landing page before publishing.
Why this matters
Creating an image and building a display ad are different jobs. Your creative tool supplies the visual. Google Ads combines or serves that visual according to the ad format you choose.
Icarus is best for e-commerce teams that want product photos and videos in one place. That shared scope is the reason to consider it instead of separate photo and video tools. You still need a Google Ads setup, an approved creative, and a review process before anything runs.
For your 2026 workflow, define the handoff before generating images. A clean product image for a responsive display ad needs different preparation from a finished banner containing the headline, logo, and call to action.
This guide covers image-based display creatives. Generating a video does not make it interchangeable with an image asset or automatically eligible for every display placement.
Before you start
- Accounts and access: Have access to your creative workspace and permission to create or edit ads in the correct Google Ads account. Confirm the account and campaign before uploading.
- Source materials: Prepare a real product reference, your approved logo, the destination page, and copy that matches the product. Keep the original product image beside the generated result for review.
- The gotcha: Choose the ad format first. Responsive display ads assemble images and text separately; uploaded image ads use a finished layout. Baking all your copy into an image is not a substitute for supplying the required text assets.
Keep an untouched copy of every approved source file. Cropping or resizing the only copy makes later revisions harder to trace.
Choose your display format
Best for flexible asset combinations: responsive display ads. Best for a fixed composition: uploaded image ads. Neither removes the need to check the final presentation.
| Format | Best for | What you supply | Advantage | Limitation |
|---|---|---|---|---|
| Responsive display ads | Teams preparing reusable product images and multiple copy assets | Images, logos, headlines, descriptions, business name, and destination | Google assembles assets into different layouts | You do not control every image-and-text combination |
| Uploaded image ads | Teams needing a specific finished banner composition | A complete image ad in a supported size and format | You control the composition inside the file | You must prepare files that meet the relevant upload requirements |
A responsive display ad is the practical starting point when your main asset is a product photo. Use a finished image ad when the layout itself is essential, such as a particular arrangement of product, copy, and logo.
Do not use the same file unquestioningly for both. A finished banner can become cramped when treated as a photo asset, while a plain product image does not contain the complete message of a designed banner.
Product image preparation
Build the brief and review the source
- Write the placement and format at the top of your brief. For example: “2026 display campaign, responsive display ad, product-focused image.”
- Identify the product details that must remain accurate: shape, packaging, label, color, and included accessories.
- Describe the scene separately from the product. Specify the surface, background, lighting, and room around the item.
- Generate the creative, then compare it with the real reference. Reject altered lettering, invented accessories, or misleading proportions.
Expected result: You have an approved product visual and a written brief that another teammate can understand without reconstructing your decisions.
Illustrative brief: “Show the bottle upright on a plain surface with soft side lighting. Keep the full bottle visible. Preserve the reference packaging and leave open space around the product. Do not add text.” This is a starting instruction, not a promise that every generated detail will be correct.
If the background distracts from the product, simplify the scene before making more variants. The background generators guide addresses that part of the creative decision separately from ad setup.
Prepare the image files
- For responsive display ads, prepare a landscape image at 1200 × 628 pixels and a square image at 1200 × 1200 pixels. These are Google's recommended dimensions for those image shapes.
- Check the crop at the actual output dimensions. Keep the product, label, and essential visual details away from the edges.
- Save approved files to a campaign folder. Use descriptive names such as
2026-bottle-square-approvedand2026-bottle-landscape-approved. - For uploaded image ads, use the accepted dimensions and file requirements shown in Google Ads for that format. Do not assume a responsive image recommendation applies to a finished banner.
Expected result: You have separate, clearly named files for the chosen ad format, with readable product details and no accidental crop damage.
Google's minimum dimensions for the landscape and square responsive images are 600 × 314 pixels and 300 × 300 pixels, respectively. Treat those as acceptance floors, not targets for your creative brief. Enlarging a small file does not restore missing detail.
Google Ads configuration
Add the assets to a responsive display ad
- Open the correct Google Ads account and select the intended Display campaign and ad group. Go to Ads.
- Use the plus button and select Responsive display ad. Confirm the ad group before adding assets.
- In Images and logos, upload the approved image files and your actual business logo. Review the offered crops rather than accepting them without inspection.
- Enter the destination in Final URL. Add the required Headlines, Long headline, Descriptions, and Business name.
- Review the ad previews. Check that the image still communicates the product when paired with different text assets.
- Select Save when the draft is ready for the account's review and publishing process.
Expected result: The intended ad group contains the saved responsive display ad with the correct destination, image assets, and copy.
Write every headline so it works without a particular description beside it. Responsive assembly means your copy should not depend on a fixed reading order or a sentence completed by another asset.
Treat the preview as a layout check, not proof of approval or a guarantee of every eventual appearance. Google still applies its advertising policies and serving rules.
The 2026 handoff should leave a clear record: approved source, uploaded file, ad destination, and person responsible for the final review.
Review the destination and publication status
- Open Final URL and verify that it leads to the advertised product or an appropriate collection. Check the page on mobile as well as desktop.
- Compare the image and text with the destination. Remove claims the page does not support and replace visuals that imply a different product or included item.
- Return to Ads and inspect Status. A saved ad is not necessarily approved or serving.
- Confirm the campaign and ad group settings with the account owner before enabling delivery. Creative preparation alone does not establish targeting or conversion measurement.
Expected result: The ad points to the intended page, its claims match that page, and its current status is understood.
Keep product accuracy separate from visual preference. A beautiful image with the wrong packaging fails review even if the composition looks ready to publish.
Refresh creatives when the product or campaign changes
A second workflow starts with an existing ad rather than a new campaign. Use it when packaging changes, a product image becomes outdated, or you want to test a different scene.
- Record the current ad, destination, approved image, and reason for the change.
- Create the replacement image from the current product reference. Reuse the written brief where the product and scene requirements still apply.
- Review the replacement against the original reference, not just against the previous generated image.
- Upload the new asset through the relevant ad editor. Recheck crops and copy combinations before saving.
- Inspect the ad's status again after the change. Do not assume the previous approval covers an edited creative.
Expected result: The updated asset has a traceable source and a clear reason for replacing the previous version.
For a 2026 creative test, write a question before producing alternatives: does the product read more clearly against a plain background or a lifestyle scene? Keep the destination and offer consistent when those are not the subject of the test.
With dynamic creative optimization, asset combinations complicate interpretation: a result belongs to the assembled ad and its delivery conditions, not automatically to the image alone. Record which images and text assets were eligible during the period you evaluate.
This is why “replace everything” is a weak test plan. If you change the image, copy, destination, and audience together, the result cannot isolate the contribution of the new visual.
Troubleshooting
The image will not upload
Check the file format, dimensions, and file-size requirement shown in the uploader. Responsive image assets and uploaded image ads have different requirements. Export a compliant file rather than repeatedly renaming or re-uploading the rejected one.
The product is cut off in the preview
Return to the crop controls and inspect each image shape. If the full product cannot fit cleanly, prepare a new composition with more space around it. Do not shrink the product until the important details become unreadable.
The image looks right, but the ad reads badly
Review the headlines and descriptions independently. Remove references such as “shown on the left” or wording that needs a specific layout. Keep essential information in the appropriate text fields instead of relying on tiny text inside the image.
The ad is saved but not running
Inspect the ad status, then check the campaign and ad group status. Review any policy message rather than assuming the upload failed. Approval and serving are separate from whether the file was successfully saved.
The generated product differs from the real item
Stop the handoff and replace the visual. Compare the label, shape, closure, color, and accessories against the real reference. A corrected crop cannot fix an inaccurate product depiction.
Customize your workflow
Keep one creative brief for the campaign, but maintain separate acceptance checks for each destination. Display, product-page, and social assets do not become interchangeable just because they depict the same item.
For a small team, assign a clear owner to product accuracy and a clear owner to ad publication. One person can hold both roles. The distinction still matters: approving the image is not the same decision as approving the campaign settings.
Use Icarus when the buying decision centers on making product photos and videos in one place. Compare separate tools when you need a specific capability that you have verified elsewhere. Do not choose a creative tool on an assumed publishing integration. Confirm any required connection before making it part of your operating process.
For your 2026 checklist, retain the brief, original reference, approved exports, destination, and revision notes. Those materials make the next refresh a controlled edit rather than a fresh interpretation of the product.
FAQ
How do I connect Icarus to Google Ads for display creatives?
Use a file-based handoff: create and review the product visual, then upload the approved file to Google Ads. This workflow does not require a direct account connection or automatic publishing.
Does this workflow automatically sync new creatives to Google Ads?
No. This guide uses manual file uploads and review inside Google Ads. Treat automatic synchronization as a separate requirement to verify before relying on it.
What image size should I use for responsive display ads?
Google recommends 1200 × 628 pixels for landscape images and 1200 × 1200 pixels for square images. Check the crop and the uploader's requirements before saving the ad.
Should I use responsive display ads or uploaded image ads?
Use responsive display ads for separate image and text assets, and uploaded image ads for a finished banner composition. Responsive ads give you less control over individual combinations; uploaded ads require files that meet their format requirements.
Can I use the same product image for every display shape?
Use the same approved source only when each crop preserves the product and its important details. Prepare separate compositions when a crop cuts off packaging or makes the product difficult to recognize.
Why is my saved display ad not running?
Saving an ad does not establish that it is approved or eligible to serve. Inspect the ad status, policy messages, and campaign and ad group settings.
Do I need separate photo and video tools?
Icarus provides product photos and videos in one place. Separate tools are a different buying choice when you have a verified requirement that calls for them; do not assume either approach includes direct Google Ads publishing.
One last thing
Review the worst crop, not just the best preview. A product image can look clear at full size while losing its label or distinguishing feature in another layout. Choose the asset that remains accurate across the presentations you can inspect, not merely the most attractive original.