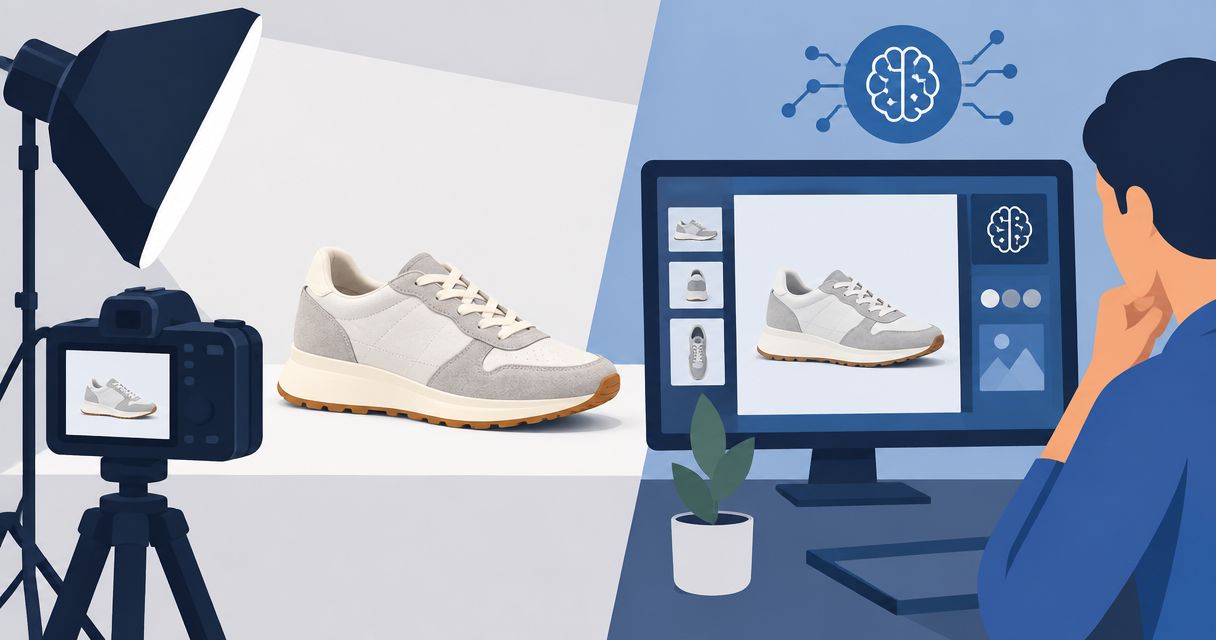
Instead of rebuilding your product brief for every ad, use Icarus to create product photos and videos, then upload your selected files to Meta Ads Manager. This 2026 guide covers a manual file handoff—not a native account connection, automatic publishing, or performance-data sync.
- The Icarus Meta Ads Manager workflow here uses manual file uploads, not an automatic integration.
- Icarus suits e-commerce teams that want product photos and videos in one place.
- Prepare your creative files, destination, identity, and tracking before building the ad.
- Review every placement preview before publishing product photography or video ads.
Why this matters
Creating an image and launching an ad are different jobs. Your creative suite produces the asset; Meta Ads Manager handles the campaign, audience, placements, and delivery settings. Moving a file between them does not transfer those settings.
Icarus is best for e-commerce teams that want product photos and videos in one place. That is the reason to consider the suite for this workflow. It does not remove the need to check product accuracy, configure the ad, or review the landing page.
Keep the buying decision separate from the publishing process:
| Workflow | Best for | Advantage | Limitation |
|---|---|---|---|
| Icarus for product photos and videos | Teams that want both formats in one creative suite | Product photos and videos are available in one place | You still need to review assets and configure delivery in Meta Ads Manager |
| Separate photo and video tools | Teams choosing each creative tool independently | You can choose a different tool for each task | You must maintain the brief and review process across separate tools |
Choose around the assets you need to make. Do not choose around an assumed direct-publishing feature.
Before you start
- Account access: Have access to your creative workspace and the correct Meta ad account. You also need permission to use the business identity that will appear on the ad.
- Approved materials: Gather your product references, creative brief, destination URL, ad copy, and any required tracking details. Decide who approves the creative and who publishes it.
- The easy-to-miss dependency: Confirm the Facebook Page and any intended Instagram identity are accessible in the ad account before building the ad. Access to an ad account alone does not establish access to every business asset.
For your 2026 setup, decide whether the work belongs in an existing campaign or a new one before uploading files. A new creative asset does not automatically require a new campaign.
Also distinguish file access from account access. The person producing the image can hand an approved file to the person responsible for advertising; they do not need to share account credentials to complete this manual workflow.
Creative brief
Define the asset before generating it
- Choose 1 product for the first handoff. Use current reference images that show the real packaging, shape, color, and label.
- State the ad's job in a sentence. For example: introduce the product, explain a use case, or show a detail that is difficult to understand from a pack shot.
- Specify the intended placement and composition. Leave space for copy if the finished ad requires it, rather than covering the product after generation.
- Write down what must remain unchanged. Include the product name, visible label wording, material, proportions, and any details that distinguish the actual item.
- Generate the photo or video, then review it against the references before treating it as an advertising asset.
Expected result: You have a creative candidate that matches a written brief and is ready for a product-accuracy review.
An illustrative 2026 brief could read: Show an unbranded reusable bottle on a kitchen counter. Keep the bottle shape and cap consistent with the reference. Leave clear space beside the product for the headline. This is an example brief, not a customer result or a promise about output.
For video, describe the action as well as the setting. A product resting on a counter and a product being picked up are different instructions. Check the product throughout the clip, not just in the opening frame.
Prepare files
Build a reviewable handoff
- Obtain the approved image or video as a local file using the creative tool's available file-output controls. Do not substitute a workspace link for the actual media file.
- Open the file outside the creative workspace. Confirm that the image displays or the video plays through to the end.
- Check the file against Meta's current requirements for your intended format and placement. Confirm dimensions, aspect ratio, file type, and any relevant video or audio requirements before upload.
- Give the asset a descriptive name. An illustrative pattern is
bottle_kitchen_detail_2026_vA; keep the same identifier in your handoff notes. - Put the approved copy and destination URL beside the asset in your handoff document. Identify the final file explicitly so a draft does not become the live ad.
Expected result: The publisher can identify the correct asset and its accompanying copy without reopening the creative project.
For a small first handoff, prepare 2 files if you need both formats: an approved image and an approved video. This is a suggested starting scope, not a platform requirement or a recommended testing volume.
Keep internal approvals outside the filename alone. A file called final can still contain the wrong label, crop, or product. Record who approved the asset and which version they approved.
Ad setup
Upload the approved creative in Meta Ads Manager
- Open Meta Ads Manager and confirm the selected ad account. For a new campaign, select Create, then choose the objective that matches the campaign's business goal.
- Complete the campaign and ad set settings. Review the audience, placements, schedule, budget, and conversion settings that apply to the selected objective.
- At the ad level, check the identity settings. Confirm that the intended Facebook Page and Instagram account are selected where applicable.
- In Ad setup, choose Create ad for a new creative rather than using an existing post. Choose Single image or video when that format fits the asset and campaign.
- In the creative section, use Add media, then Add image or Add video, as appropriate. Upload the approved local file and select it for the ad.
- Complete the relevant text and destination fields, including Primary text, Headline, and Website URL when those fields apply to the ad format.
Expected result: Your draft ad contains the approved media, intended business identity, copy, and destination.
Meta's available controls depend on the objective, format, and account configuration. If your screen offers a different path, follow the media-upload controls for that format rather than changing campaign settings just to match this example.
An uploaded video does not make the entire ad ready. Wait for processing and inspect the preview before continuing.
Final review
Check the ad before publishing
- Inspect each placement preview you intend to use. Look for cropped labels, hidden text, awkward framing, and interface elements covering the product.
- Review any applied creative adjustments. Confirm that the displayed result still matches the approved asset and message.
- Open the destination URL and check that it leads to the intended product or campaign page. Confirm that the page matches the ad's claims.
- Verify the tracking and conversion settings relevant to the campaign. Uploading a media file does not establish website measurement.
- Check the campaign, ad set, and ad status, then select Publish only after the responsible person approves the configuration.
Expected result: The ad is submitted with the intended asset and settings. Submission is not the same as approval or delivery; inspect its status afterward.
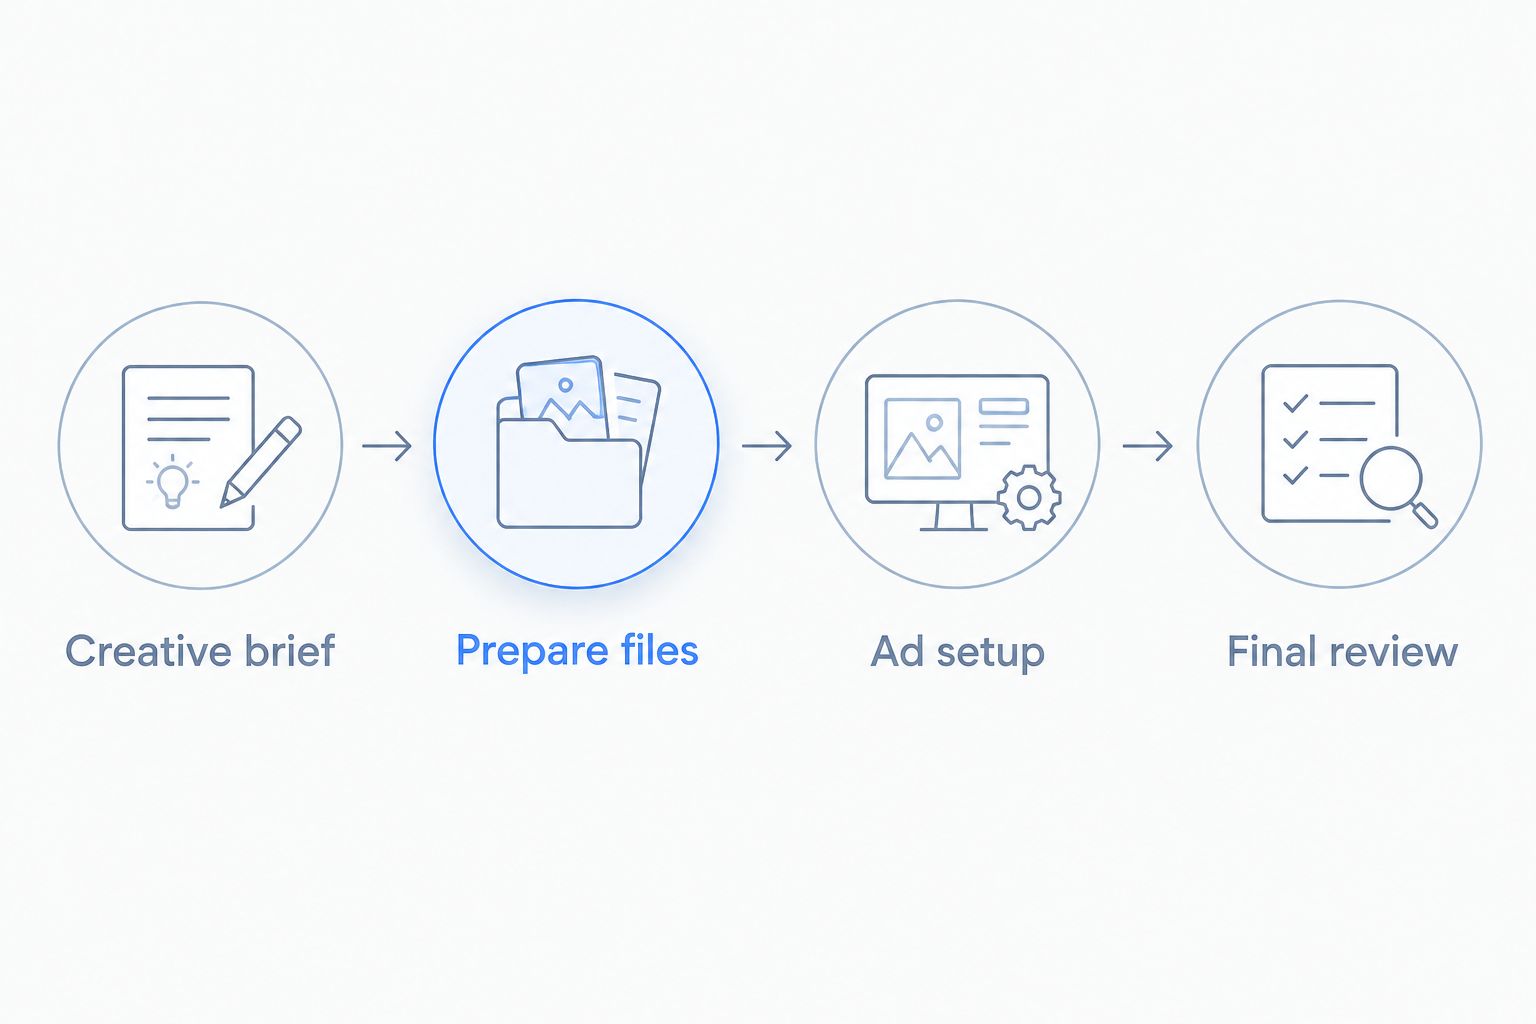
The full handoff follows this sequence: Creative brief, Prepare files, Ad setup, Final review. Keep those checkpoints even when the same person creates and publishes the ad.
When an approved creative changes
A revised file is a separate handoff. Do not assume that changing the source project updates a draft or published ad in Meta Ads Manager.
For a 2026 creative refresh, use this adjacent workflow:
- Record what changed: product image, opening scene, headline, or another specific element.
- Produce and review the revised asset against the same product references.
- Save the revision under a distinct filename and mark the previous version as superseded in the handoff document.
- In Meta Ads Manager, either edit the intended draft or create a separate ad, depending on whether you need to preserve the original ad for comparison.
- Upload the replacement media, review the previews again, and publish only after checking the rest of the configuration.
Best for comparing a creative change: Keep the original and revised assets clearly separated. Change 1 creative variable when your question is specifically about that variable; replacing the image, copy, and destination together makes that question harder to answer.
Editing a published ad can trigger another review. Account for that before replacing an asset attached to a time-sensitive campaign.
Troubleshooting
The media file will not upload
Check the actual file type and Meta's current requirements for the selected format. Renaming an extension does not convert a file. Open the local file first, then create a compatible version if needed.
If a video is still processing, distinguish that status from an upload failure. Do not repeatedly create replacement ads without checking the original upload.
The product is cropped in the preview
Check every intended placement rather than judging the ad from a single preview. Reframe the asset or prepare a placement-appropriate version when the product or message is cut off.
Keep essential label details away from vulnerable edges. A successful upload confirms file acceptance, not readable composition.
The intended Page or Instagram identity is missing
Confirm that you are in the correct ad account, then check business-asset permissions with the account administrator. Uploading a new image will not resolve an identity-access problem.
Do not select another identity simply to finish setup. The identity is part of what the audience sees.
The ad shows an older creative
Check the selected media, filename, and version in the ad itself. A newer source file does not replace the uploaded asset automatically in this manual workflow.
Upload and select the approved revision, then review the preview again before publishing the change.
The creative contains an inaccurate label or product detail
Return to the creative stage and correct the asset. Do not use ad copy to compensate for a misleading image.
Reject an inaccurate product depiction even when the rest of the image looks finished. Advertising review and internal product-accuracy review serve different purposes.
Customize your workflow
Add detail where handoffs fail, not everywhere at once. If the wrong file reaches the publisher, strengthen version naming and approval records. If crops fail, add placement-specific previews to the brief. If product details drift, improve the reference checklist.
For teams producing both formats, keep a shared product brief but separate image and video approval checks. Still images need a composition review. Videos also need a full playback review, including audio when present.
Before committing to a wider production process, complete the entire path with a representative product: generate, review, upload, preview, and publish under the intended approval process. The buying question is whether the creative workflow fits your team—not whether you can generate an isolated attractive image.
FAQ
How do I connect Icarus to Meta Ads Manager?
Use a manual file handoff: create and approve your product photo or video, obtain the media file, and upload it at the ad level in Meta Ads Manager. This guide does not describe a native account connection or automatic sync.
Do I need to share my Meta login with the person creating the assets?
No shared login is needed for this manual handoff. The creator supplies approved media files, and a person with the appropriate Meta permissions builds and publishes the ad.
Can I use product photos and videos in the same campaign?
A campaign can contain image and video ads when its objective and configuration support those formats. Build and preview each ad separately rather than assuming both assets use identical settings.
Will editing my source creative update the live ad?
No, a source edit does not replace the uploaded media in this manual workflow. Obtain the revised file, select it in the intended ad, review the result, and publish the change.
Why does my product image look different in the ad preview?
Placement cropping or applied creative adjustments can change the displayed result. Inspect the relevant placement previews and revise the framing or settings before publishing.
What should I check before publishing an ad in 2026?
Check product accuracy, business identity, placement previews, copy, destination, tracking, and campaign settings. Publishing submits the configured ad; inspect its subsequent review and delivery status separately.
One last thing
Keep a copy of the approved media alongside the final ad preview. The source file proves what you supplied; the preview shows how the platform presents it. Reviewing both catches problems that checking either one alone misses.