
Instead of recreating product images for every Shopify update, use a repeatable file workflow: generate product photos in Icarus, review them against your real product, then upload the approved files to Shopify. This guide covers that manual handoff—not an automated connection, catalog sync, or one-click publishing integration.
- Icarus Shopify product photos: use a manual generate, review, and upload workflow rather than assuming automatic catalog sync.
- Icarus suits e-commerce teams that want product photos and videos in one place.
- Check product shape, labels, color, and included accessories before publishing generated images.
- Start with one Shopify product, verify its storefront appearance, then repeat the approved brief.
Why this matters
A generated image is not ready for a product page just because it looks convincing. It must represent the item you sell, belong to the right listing, and work beside your existing product media.
The connection you need first is a controlled handoff between creation and publishing. For your 2026 workflow, separate those jobs: create the image, approve its accuracy, and then add it to Shopify. That makes each stage easy to check without treating generation as permission to publish.
Before you start
- Accounts and permissions: Have access to the creative tool and a Shopify staff account with permission to edit products. Confirm that you can open the intended product before preparing its images.
- Source materials: Gather accurate product photographs, the correct product name and variant, and a short brief describing the scene and intended placement. Keep the original photographs beside the generated files for review.
- The easy-to-miss gotcha: Adding a picture to a product's media does not establish that it belongs to a particular variant. Check variant image assignments separately when colors or styles differ.
For an illustrative first run, choose 1 product and 3 images: a clear product view, an in-context scene, and a detail view. These are suggested test materials, not a platform requirement. Avoid starting with your entire catalog; first establish what an acceptable result looks like.
Choose the workflow before creating images
Icarus is best for e-commerce teams that want product photos and videos in one place. That confirmed capability is the reason to consider it here—not an assumed Shopify integration or an unverified quality advantage.
You can also use separate photo and video tools. Compare the work involved in your own brief rather than assuming either arrangement produces better images.
| Workflow | Best for | Practical advantage | Limitation to account for |
|---|---|---|---|
| Icarus | Teams creating product photos and videos | Both content types are available in one creative suite | This guide still requires manual review and Shopify upload |
| Separate photo and video tools | Teams assessing each content task independently | You can select each tool against its specific brief | You must manage the handoff between separate tools |
For a broader buying decision, use the AI product photography tools for Shopify stores guide. Keep the buying question separate from the publishing question: a tool's ability to generate an image does not establish a direct connection to your store.
Product brief and source files
Prepare a reusable brief
- Identify the exact Shopify product and variant. Copy the product name into your working document so the image cannot be confused with a similar item.
- Select source photographs that clearly show the product's shape, color, packaging, and visible text. Do not ask a prompt to supply details that your references do not show.
- Define the image's job. Write whether it will be the main listing image, a supporting lifestyle image, or a detail image.
- Describe the scene separately from the product. Specify background, surface, lighting direction, and camera angle without changing what the item is.
- Record the constraints. List the features that must remain unchanged, including label wording, closure, handle, hardware, or included components where relevant.
Expected result: You have a brief that distinguishes creative choices from product facts. Another team member can review the output without guessing what you intended.
Filled example: an illustrative bottle brief
This is an illustrative example, not a customer result or a claim about a specific product.
- Product: The bottle shown in the supplied reference photographs.
- Placement: A supporting Shopify product-page image.
- Scene: A plain tabletop with a neutral background.
- Lighting: Soft side light that keeps the label readable.
- Preserve: Bottle silhouette, cap, label text, label placement, and liquid appearance.
- Reject: Added accessories, changed lettering, altered packaging, or a different closure.
Save the brief with your 2026 creative records. When you revise the scene later, keep the product constraints intact rather than rewriting the entire brief from memory.
Image creation and approval
Generate against the brief
- Open Icarus and use the product-photo creation workflow available in your account. Supply the product references where the workflow accepts them.
- Enter the scene instructions from your brief. Keep the request focused on the image you need rather than combining unrelated settings and placements.
- Generate a candidate image. Compare it with the source photographs before treating it as an approved asset.
- Reject any result that changes a material product detail. Revise the instructions or references before generating another candidate.
- Download the approved result to your working folder. Keep the source photographs separate from the generated files.
Expected result: You have a local image file that matches the brief and has passed a product-accuracy check. It has not yet been published to Shopify.
Use an explicit approval sequence: Source check, Product check, Scene check, then Publish check. Product accuracy comes before whether the background looks attractive.
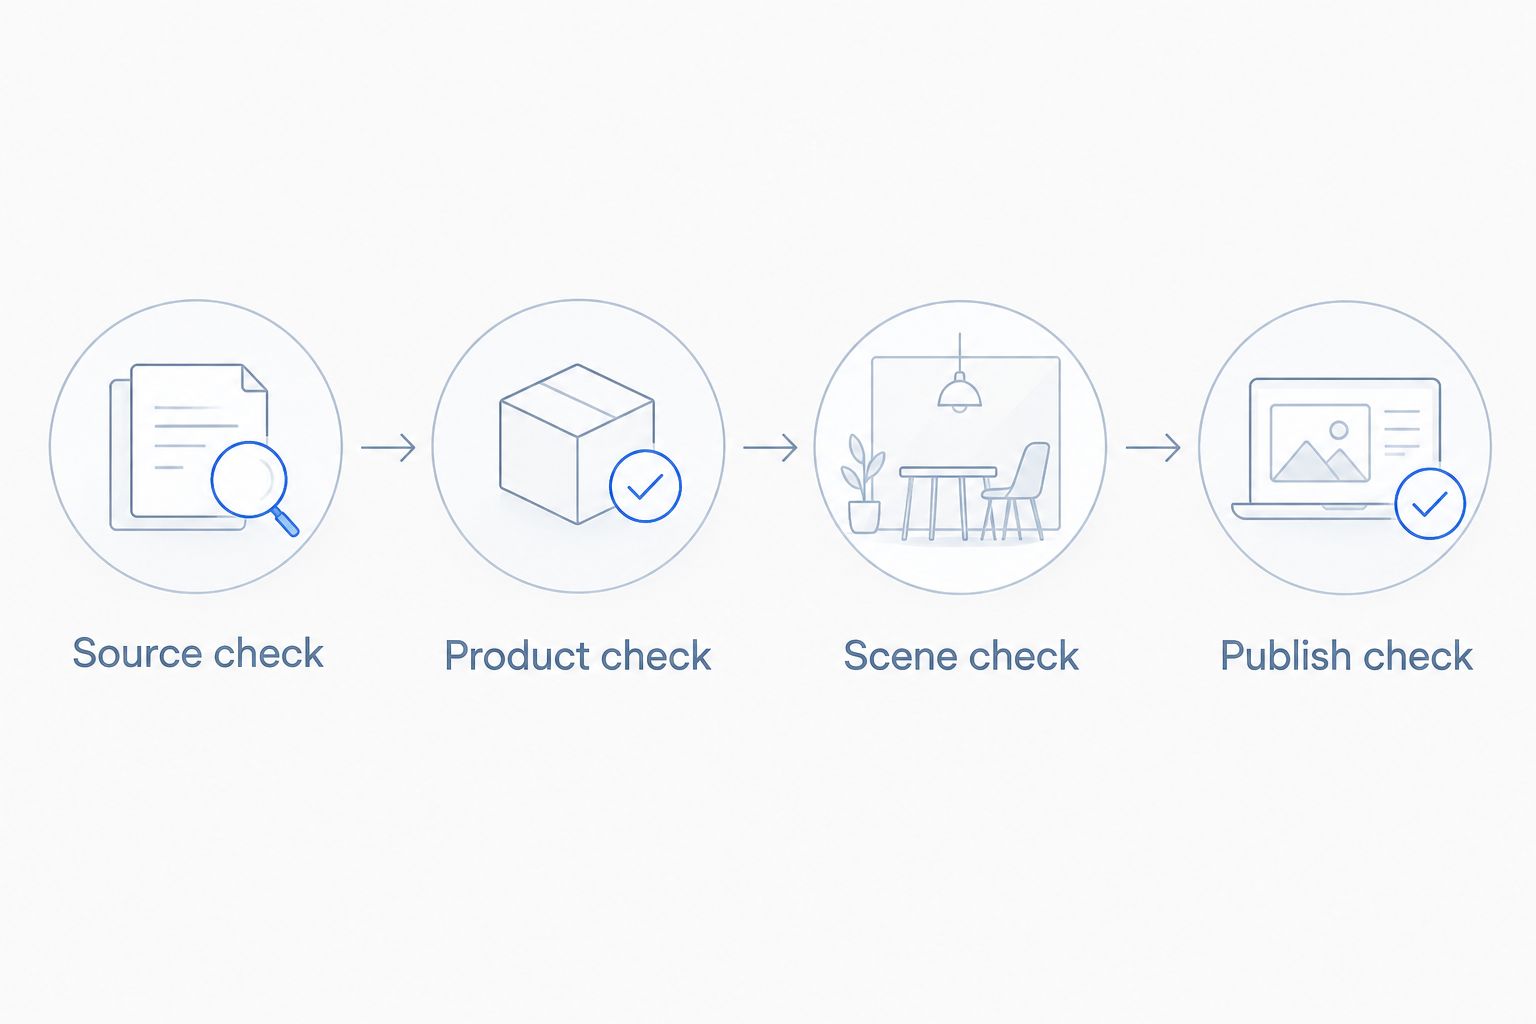
Review what a buyer would notice
Check the outline first. A changed handle, lid, seam, or attachment point can make a generated image represent a different item even when the overall scene looks plausible.
Then inspect text and surfaces. Compare lettering with the real label, look at reflective edges, and check whether a transparent area reveals something that should not be there. Zoom in instead of approving only the thumbnail.
Finally, review what the scene implies. An accessory beside the product can suggest that it is included. A misleading size relationship can create the wrong expectation. Remove or correct those elements before uploading.
For this 2026 approval checklist, use a simple rule: reject an image when you cannot reconcile it with the item being sold. Keep an accurate original photo when a generated alternative fails that test.
Shopify media setup
Upload the approved image
- In your Shopify admin, open Products and select the intended product. Confirm the title and variant details before making changes.
- Find the Media section. Use Add files to select the approved image from your computer.
- Wait for the upload to finish. Confirm that the new thumbnail belongs to the right product and is not an earlier rejected version.
- Arrange the product media in the intended order. Put the clearest accurate product view first when that is the role defined in your brief.
- Open the image's editing controls and add descriptive alt text. Describe the visible product and relevant scene; do not paste a keyword list.
- Save your changes with Save where required, then open the storefront product page to verify the result.
Expected result: The approved image appears in the intended product's media and displays correctly on the storefront. Your local file and Shopify listing now match.
Admin layouts can differ across views and updates. Follow the product's media controls rather than looking for an app-connection screen; this workflow uploads a file directly.
Check placement, crop, and variants
- View the product page on a wide screen and a phone-sized screen. Confirm that the label and important product edges remain visible.
- Check the product's appearance in collection cards. A useful full-size image can still crop badly in a smaller card.
- If the listing has variants, open each relevant variant and check its image assignment. Select a different color or style on the storefront to verify the buyer-facing result.
- Reopen the product editor if anything is wrong. Correct the media order or variant assignment rather than generating another image to solve a publishing problem.
Expected result: Buyers see the correct image in the product gallery, collection view, and relevant variant selection.
Keep accurate existing media until the replacement has passed these checks. Do not remove your only reliable reference while you are still validating the new file.
Variant: update images when a product changes
A packaging or product revision needs a different workflow from a scene refresh. Start with the changed product, not the old generated image.
- Collect current reference photographs showing the revision. Mark the earlier image as outdated in your working folder.
- Update the brief's product constraints. State exactly which feature changed and which details must remain the same.
- Generate and review a replacement using the same approval sequence. Do not approve old packaging simply because it matches the previous listing.
- Upload the replacement to the correct Shopify product. Recheck variant assignments and media order.
- Inspect the storefront before removing outdated media. Also review any other placements where you manually used the old file.
Expected result: The revised listing reflects the current product, not just a new background around an outdated reference.
For a 2026 seasonal scene refresh, keep this distinction clear: changing the backdrop does not authorize changing the product. Reuse the product constraints and revise only the scene instructions.
Troubleshooting
The generated label or product shape is wrong
Reject the file before uploading it. Compare it with a clearer source photograph and make the preservation instructions explicit. If the next result still changes the item, use an accurate original image instead.
Shopify will not accept the image
Read the upload error and check the file's format, dimensions, and size against Shopify's current requirements. Re-export to a supported image format if needed, then reopen the local file to confirm it is not damaged before uploading again.
The wrong color appears after variant selection
Check the variant's image assignment in the product editor. A photo's presence in the product gallery is not proof that the correct variant uses it. Save the correction and test that selection on the storefront.
The image looks right in the gallery but crops badly elsewhere
Review the collection card and your theme's image presentation settings. Adjust the image framing or display treatment while preserving the product's proportions. Do not stretch the product to fill a frame.
A new creative image does not appear in Shopify automatically
Complete the manual upload step. This guide does not establish automatic publishing between the creative suite and Shopify. Keep generation approval and storefront publication as separate tasks with an explicit handoff.
Customize your workflow
Once the first product passes review, reuse the brief structure across a related group. Preserve product-specific references and constraints; a shared background instruction is not a substitute for checking each item.
For a small team, name the person responsible for product accuracy and the person responsible for publishing. One person can hold both roles, but neither approval should disappear. Keep a simple record of the product, approved filename, intended placement, and publication status.
If you also need video, evaluate Icarus's product-photo and video workflow against your actual content brief. Its confirmed benefit is having both in one place. Do not assume that a shared suite removes the need to review each output.
Start your product creative workflow
Create product photos and videos in one place, then review approved files before publishing.
FAQ
How do I connect Icarus to Shopify for product photos?
Use a manual file workflow: generate the product image, approve its accuracy, download it, and upload it to the product's Media section in Shopify. This guide does not establish a native integration or automatic catalog sync.
Do I need a Shopify app to follow this guide?
No Shopify app is needed for the manual upload workflow described here. You need access to the creative tool, the approved image file, and permission to edit the Shopify product.
Can I automatically publish generated images to Shopify?
Automatic publishing is outside the workflow described here. Follow the manual approval and upload steps rather than assuming a generated image will appear in your store.
What's the best image to use first on a Shopify product page?
Use the clearest accurate image that fulfills your main product-image brief. Verify its appearance in the product gallery and collection card before replacing existing media.
How do I stop generated images from changing my product?
Use clear references and explicit preservation instructions, then reject outputs that alter product details. A prompt is not a guarantee; compare every approved image with the real item.
Why does Shopify show the wrong image for a variant?
Check the variant's assigned image separately from the product gallery. Correct the assignment and test the color or style selection on the storefront.
Should I use one creative suite or separate photo and video tools?
Choose a shared suite when having product photos and videos in one place fits your team's workflow. Choose separate tools when your task-specific assessment supports that arrangement; neither setup removes the need for product review.
One last thing
Before your next 2026 product-image refresh, pick one approved image and trace it backward. You should be able to identify the source photograph, brief, product variant, and publishing decision without asking who remembers making it.
If that trail is unclear, fix the handoff before expanding the workflow. A repeatable approval record is more useful than a larger folder of unreviewed images.